Make Cozy Instant Pot Apple Cider in Under an Hour: Your Guide to a Fall Favorite, Anytime!
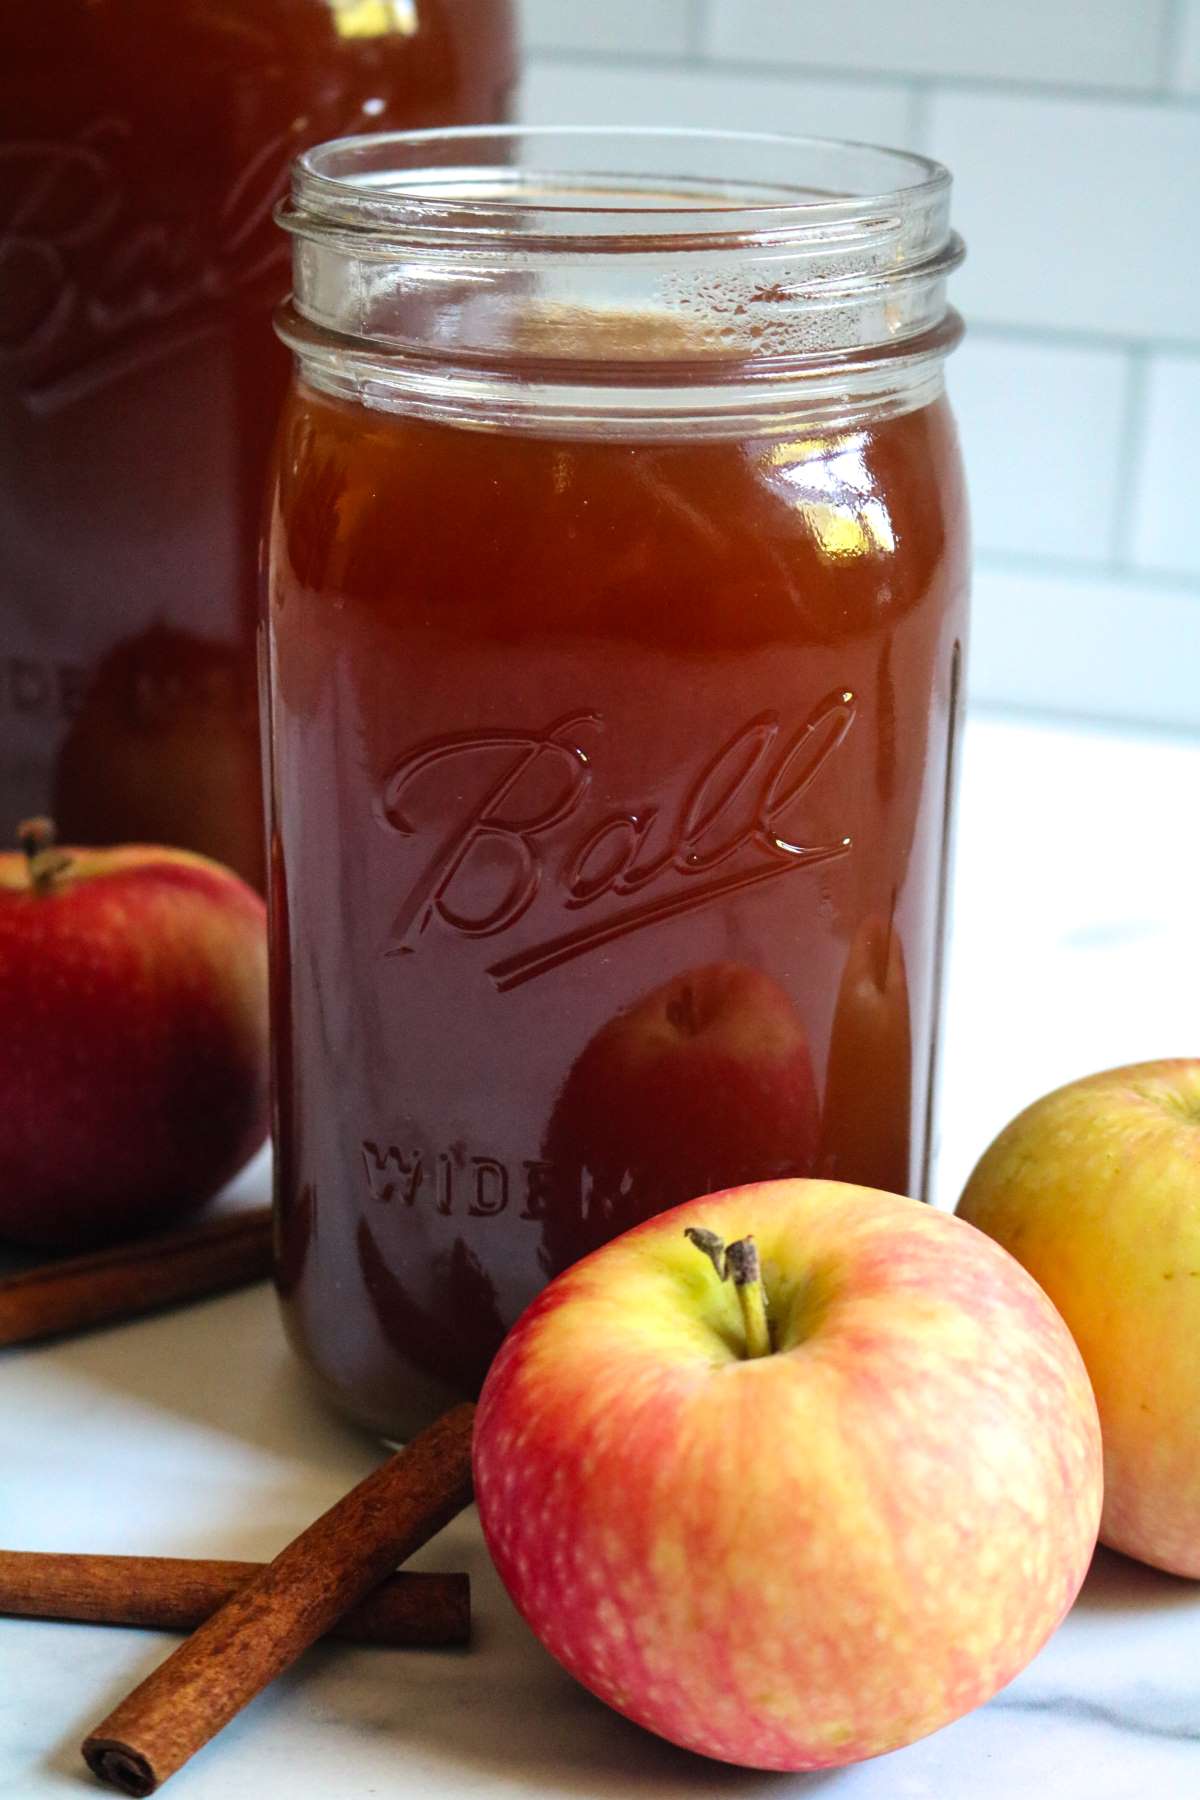
There's something undeniably magical about a steaming mug of apple cider – the comforting aroma of warm spices, the sweet-tart embrace of fresh apples, and the instant feeling of coziness it brings. Traditionally, brewing homemade cider could be a lengthy affair, simmering on the stovetop for hours. But what if we told you that you could whip up a batch of delicious, aromatic
instant pot apple cider in under an hour, bringing that quintessential fall feeling into your home any time of year?
Thanks to the wonders of the Instant Pot, this beloved beverage is now accessible with remarkable speed and ease. Forget waiting for autumn leaves or pumpkin spice season; with just a few simple ingredients and your trusty pressure cooker, you can create a truly fresh, flavor-packed cider that will warm you from the inside out. It's an effortlessly rewarding project that promises not just a drink, but an experience.
Why Your Instant Pot is the Secret to Speedy Cider Perfection
The Instant Pot isn't just for quick weeknight dinners; it's a game-changer for beverages like homemade apple cider. Its high-pressure environment drastically cuts down cooking time, allowing you to extract maximum flavor from fresh apples and spices in a fraction of the time compared to traditional stovetop or slow cooker methods.
Here’s why your Instant Pot is the ultimate tool for this comforting concoction:
*
Unrivaled Speed: What once took hours of simmering can now be achieved in less than 60 minutes of active cooking and pressure building/releasing. This makes it perfect for last-minute gatherings or an impromptu cozy evening.
*
Deep Flavor Extraction: The pressure cooking process efficiently breaks down the apples, releasing their natural sugars and pectin, and intensifying their flavor. It also helps the spices infuse more thoroughly and quickly.
*
Consistent Results: With precise temperature and pressure control, your Instant Pot delivers perfectly cooked apples and infused cider every time, minimizing guesswork.
*
Hands-Off Convenience: Once you set it, you can forget it (until it's time to mash!). This frees you up to tackle other tasks or simply relax while your kitchen fills with incredible aromas.
Embrace the efficiency of modern cooking and discover how effortlessly you can create a truly exceptional
Homemade Instant Pot Apple Cider: Easy Fall Flavor Anytime.
Crafting Your Perfect Instant Pot Apple Cider: Ingredients & Customization
One of the greatest joys of making homemade
instant pot apple cider is the ability to customize it exactly to your liking. From the apple varieties to the spice blend and sweetness level, you are the master of your cider's destiny.
Here's a breakdown of the essential ingredients and how you can personalize your brew:
*
Fresh Apples: The Heart of Your Cider
The beauty of homemade cider starts with fresh apples. While any apple variety will technically work, a blend often yields the most complex and interesting flavor profile.
*
For Sweetness: Honeycrisp, Fuji, Gala, or Golden Delicious.
*
For Tartness: Granny Smith, Braeburn, or Pink Lady.
*
For Aroma: McIntosh or Cortland.
Mixing sweet and tart varieties creates a well-balanced cider that is both refreshing and deeply satisfying. Wash your apples thoroughly and cut them into wedges – there's no need to core or peel them, as the skins contribute to flavor and color.
*
Sweetener: Control Your Sweetness
This is where personal preference truly shines. The natural sweetness of your chosen apples plays a significant role, so you might need less added sugar than you think.
*
Brown Sugar: A classic choice that adds a rich, caramel-like depth.
*
Maple Syrup: Offers a distinct, earthy sweetness that complements the apple and spice flavors beautifully.
*
Other Options: Granulated sugar, honey, or even a few pitted dates can also be used.
Remember, you can always taste and adjust the sweetness after the cider is strained. For those who prefer a more tart cider, feel free to reduce or even omit the added sweetener entirely.
*
Warming Spices: The Soul of the Cider
Cinnamon sticks are non-negotiable for that authentic cider taste, but don't stop there!
*
Cinnamon Sticks: Essential for their sweet, woody warmth.
*
Beyond Cinnamon: Consider adding whole cloves, star anise pods, a few allspice berries, or a pinch of freshly grated nutmeg for an even richer and more complex spice blend.
*
Tip: While ground spices can work in a pinch (about 1-2 teaspoons per stick of cinnamon), whole spices offer a cleaner flavor and are easier to strain out, resulting in a clearer cider.
*
Optional Enhancements for Extra Zing:
*
Fresh Cranberries: A handful of fresh cranberries adds a lovely tart counterpoint and vibrant color. (Note: dried cranberries won't achieve the same effect).
*
Orange Slices: A few slices of fresh orange (peel on) introduce bright citrus notes and a pleasant bitterness that balances the sweetness.
*
Fresh Ginger: A few slices of fresh ginger root can impart a subtle, spicy kick.
*
Water: The Foundation
Plain water is all you need to create the liquid base for your cider.
Experimenting with these elements allows you to create
Fresh Instant Pot Apple Cider: Customize Sweetness & Spices, perfectly tailored to your palate.
Step-by-Step Guide to Irresistible Instant Pot Apple Cider
Creating your homemade
instant pot apple cider is a straightforward process, broken down into a few simple steps. Follow this guide for a perfect batch every time.
- Prep Your Produce:
Start by thoroughly washing your apples. There's no need to peel or core them, as the skins add to the color and nutritional value. Simply cut the apples into roughly 1-inch wedges. If you're using optional additions like oranges or cranberries, wash them well too.
- Combine Ingredients & Pressure Cook (First Round):
Place your apple wedges, brown sugar (or chosen sweetener), cinnamon sticks, any other whole spices, and optional additions (like cranberries or orange slices) into the inner pot of your Instant Pot. Pour in the water. Secure the lid, ensuring the sealing ring is properly in place. Turn the steam release valve to the "Sealing" position. Set your Instant Pot to "Manual" or "Pressure Cook" (High Pressure) for 30 minutes.
- Quick Release & Mash for Maximum Flavor:
Once the cooking cycle is complete, carefully perform a quick release. To do this safely, use a long-handled wooden spoon or spatula to turn the steam release valve to the "Venting" position, allowing the steam to escape rapidly. Once the pressure pin drops and all steam has been released, you can safely open the lid.
At this point, the apples will be incredibly soft, resembling a runny applesauce. Use a potato masher to thoroughly mash the apples directly in the pot. This step is crucial as it helps extract even more juice and flavor from the cooked fruit. Work around the cinnamon sticks and other whole spices; they can remain in the pot for the second cooking phase.
- Second Pressure Cook & Infusion:
After mashing, close the lid and return the steam release valve to "Sealing." Set your Instant Pot for another 30 minutes on "Manual" or "Pressure Cook" (High Pressure). This second round of pressure cooking further infuses the liquid with the mashed apple pulp's essence and the deep flavors of the spices, ensuring a robust and concentrated cider.
- Strain, Sweeten, & Serve:
Once the second cooking cycle finishes, again perform a quick release and open the lid. Your kitchen will smell absolutely incredible! Carefully strain the liquid. For a clear cider, pour the contents through a fine-mesh sieve lined with cheesecloth or a nut milk bag into a large bowl or pitcher. Allow the liquid to drain naturally, pressing lightly on the solids to extract as much liquid as possible. Avoid pressing too hard, as this can force pulp through and make your cider cloudy.
Taste your freshly strained cider. If desired, add more sweetener and stir until dissolved. Your cozy homemade instant pot apple cider is now ready to serve!
What to do with the leftover apple mash? Don't discard it! This flavorful, spiced apple pulp is a fantastic byproduct. It makes a delicious topping for ice cream, yogurt, or oatmeal, and can even be incorporated into baked goods like muffins or quick breads for an extra burst of apple goodness.
Serving Suggestions & Storage Tips
Once your fragrant
instant pot apple cider is ready, the possibilities for enjoyment are endless!
*
Serve Warm: The best way to enjoy this cider is warm. Ladle it into mugs and garnish with a fresh apple slice, a cinnamon stick, or even a swirl of whipped cream for an extra treat.
*
Adult Version: For a grown-up twist, consider adding a splash of bourbon, rum, or brandy to individual servings. It pairs beautifully with the spiced apple flavors.
*
On-the-Go Coziness: Pack it into a thermos for outdoor adventures, bonfires, or simply to enjoy during a chilly commute.
*
Storage: Leftover apple cider can be stored in an airtight container in the refrigerator for up to 5-7 days.
*
Reheating: Gently reheat on the stovetop over medium-low heat, in the microwave, or even back in your Instant Pot on the "Warm" setting.
Conclusion
Making your own
instant pot apple cider is an incredibly rewarding experience that brings the comforting essence of autumn into your home with unprecedented speed and ease. In under an hour, you transform simple fresh apples and warming spices into a fragrant, delicious beverage that is infinitely better than anything store-bought. It’s customizable, fresh, and perfect for sharing with loved ones or savoring on a quiet evening. So go ahead, grab your Instant Pot and brew up a batch – your taste buds (and your soul) will thank you!